How To Cancel Your Spotify Premium Subscription: A Full Web Guide
Decided to take a break from your ad-free music? Whether you’re cutting costs or simply no longer need the benefits of official Spotify Premium (like offline downloads and unlimited skips), the cancellation process must be done through a web browser, not the mobile app.
We’ll guide you step-by-step through the process to ensure you successfully stop the auto-renewal of your premium plan.
Step 1: Access the Official Spotify Website
You must exit the official Spotify app (on iOS or Android) and open a web browser like Google Chrome or Safari.
- Open your web browser.
- Go directly to the official Spotify website:
spotify.com. - Ensure the page loads on the web and doesn’t redirect you back to the app.
Step 2: Log Into Your Account Page
Once you are on the official Spotify website, you need to navigate to your account settings.
- Click on the three lines icon (or menu icon) usually found at the top right of the screen.
- Click the Log In button.
- Log in using your official Spotify credentials. You may need to enter a verification code sent to your email.
- After logging in, look for and click the Gear (Cog) icon at the top right, then select View Account at the top of the menu.
Step 3: Manage and Cancel Your Subscription
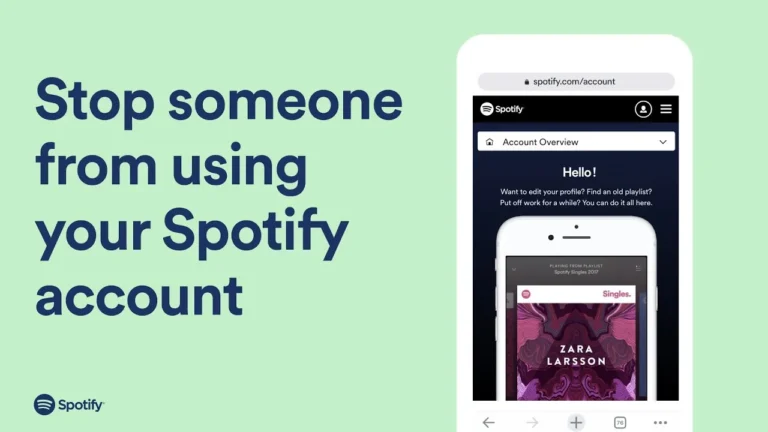
On the Account Overview page, you will find all the necessary details regarding your current plan.
- Scroll down to the Subscription section.
- Click on Manage your subscription (or Premium Individual if you are already on the plan page).
- Look for the Change Plan or Cancel Subscription button and select Cancel Subscription.
- Important: Read the displayed information. Spotify will detail what changes once you revert to the free plan (e.g., ads, no offline listening) and, crucially, will show you your next billing date. You can continue using Premium until this date.
- Click Continue to Cancel.
- Spotify may try to offer you alternative plans (like Premium Duo or Family) or ask for feedback to discourage you. Scroll past these sections and click Continue to Cancel again.
- If you are sure, click Yes, Cancel (or confirm the final cancellation button).
Step 4: Confirm Cancellation and Renewal Status
Once the cancellation is processed, you will see a confirmation message stating, “You have canceled your subscription” and confirming the exact date your subscription benefits will end.
- Final Check: You can return to your Account Overview page. Under your plan details, it should now clearly state that your “Plan will change to Spotify Free” on your next billing date. Your auto-renewal is now successfully stopped.
Note on Refunds: Keep in mind that official Spotify does not typically offer a refund for any unused portion of a prepaid month. You will retain Premium access until the next scheduled billing date.
Additional Payment and Account Information
In some regions, the subscription management may be found under a Billing section or Payment Help within the account page. You may need to click a View on Web button if the settings are embedded.
If you are using a mobile version of the app, such as the one described in our Spotify for iOS guide, or even a different installation like the Spotify APK, the cancellation process always reverts to the web browser method detailed above.
For those running Spotify for PC, the web process is easiest to manage on a desktop browser.
I’m martably passionate music enthusiast and researcher behind all the content you find here at spotifyapk.
As the site’s owner and publisher, my mission is simple: to provide clear, informative, and useful guides on the ever-evolving world of digital music platforms. Follow the journey and connect on Instagram: @martably! This site is dedicated to informational purposes, fueled purely by a love for music.